部署mysql环境
监控mysql,首先要让监控的服务器要安装好数据库服务。这里以CentOS 7上默认的mariadb为例
#安装mariadb
yum -y install mariadb-server

#启动、开机自启
systemctl enable mariadb
systemctl start mariadb

#设置数据库密码
mysqladmin password '123'
安装部署percona
[root@web03 ~]# yum -y install https://www.percona.com/redir/downloads/percona-release/redhat/1.0-15/percona-release-1.0-15.noarch.rpm
[root@web03 ~]# yum -y install percona-zabbix-templates
查看percona目录结构
[root@web03 ~]# tree /var/lib/zabbix/percona/
/var/lib/zabbix/percona/
├── scripts
│   ├── get_mysql_stats_wrapper.sh
│   └── ss_get_mysql_stats.php
└── templates
    ├── userparameter_percona_mysql.conf
    └── zabbix_agent_template_percona_mysql_server_ht_2.0.9-sver1.1.8.xml

2 directories, 4 files
配置percona的数据库连接配置
[root@web03 ~]# vim /var/lib/zabbix/percona/scripts/ss_get_mysql_stats.php
$mysql_user = 'root';
$mysql_pass = '123';
$mysql_port = 3306;这里需要注意下percona自带的脚本/var/lib/zabbix/percona/get_mysql_stats_wrapper.sh,修改下连接数据库的用户和密码。保证可以正确连进数据库获取key值
配置agent端的key
- 拷贝percona目录下的
userparameter_percona_mysql.conf文件到agent配置文件目录下
cp /var/lib/zabbix/percona/templates/userparameter_percona_mysql.conf /etc/zabbix/zabbix_agentd.d/- 重启服务
systemctl restart zabbix-agent- 测试获取key值
#agent端测试
[root@web03 ~]# zabbix_agentd -t MySQL.file-fsyncs
MySQL.file-fsyncs                             [t|3]

#server端测试
[root@zabbix-server ~]# zabbix_get  -s 172.16.1.9 -p 10050 -k MySQL.file-fsyncs
3
WEB页面导入模板
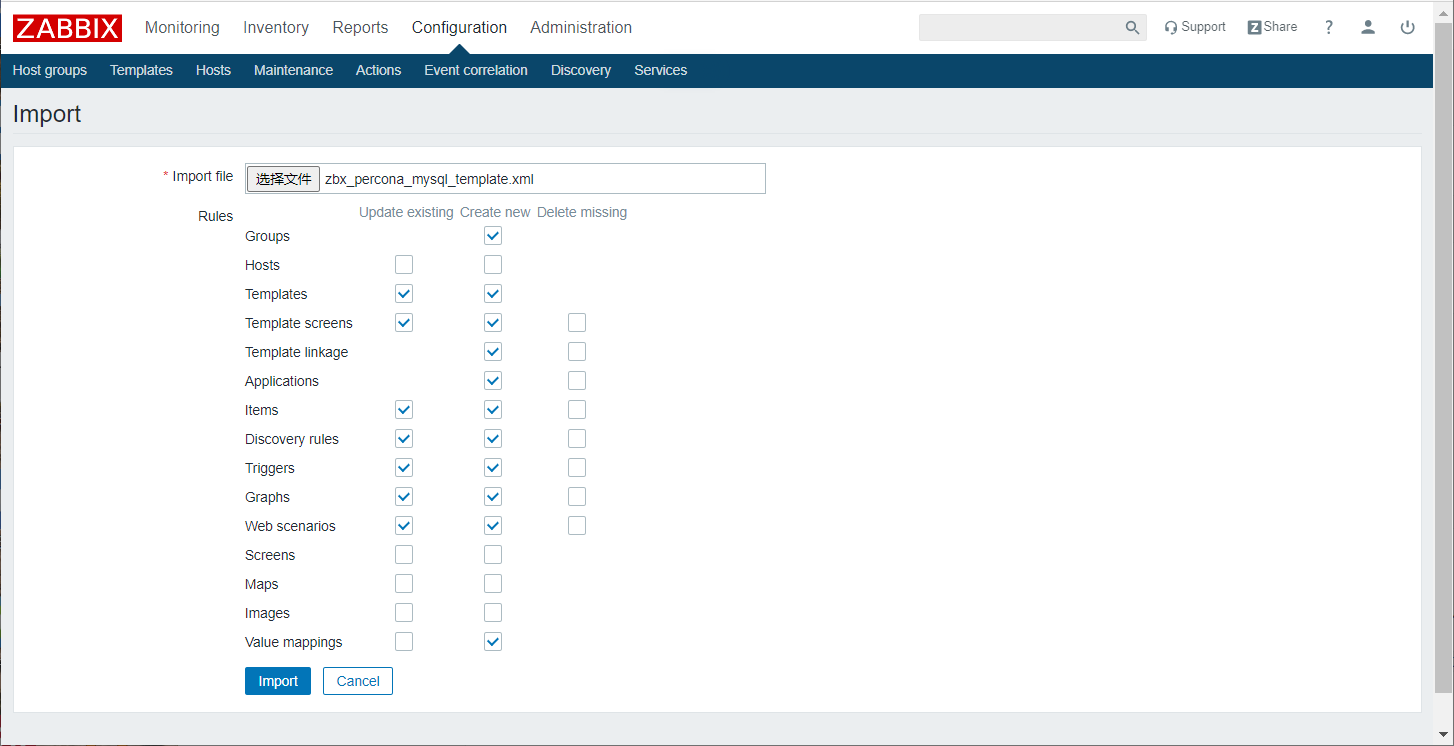
- 到入模板
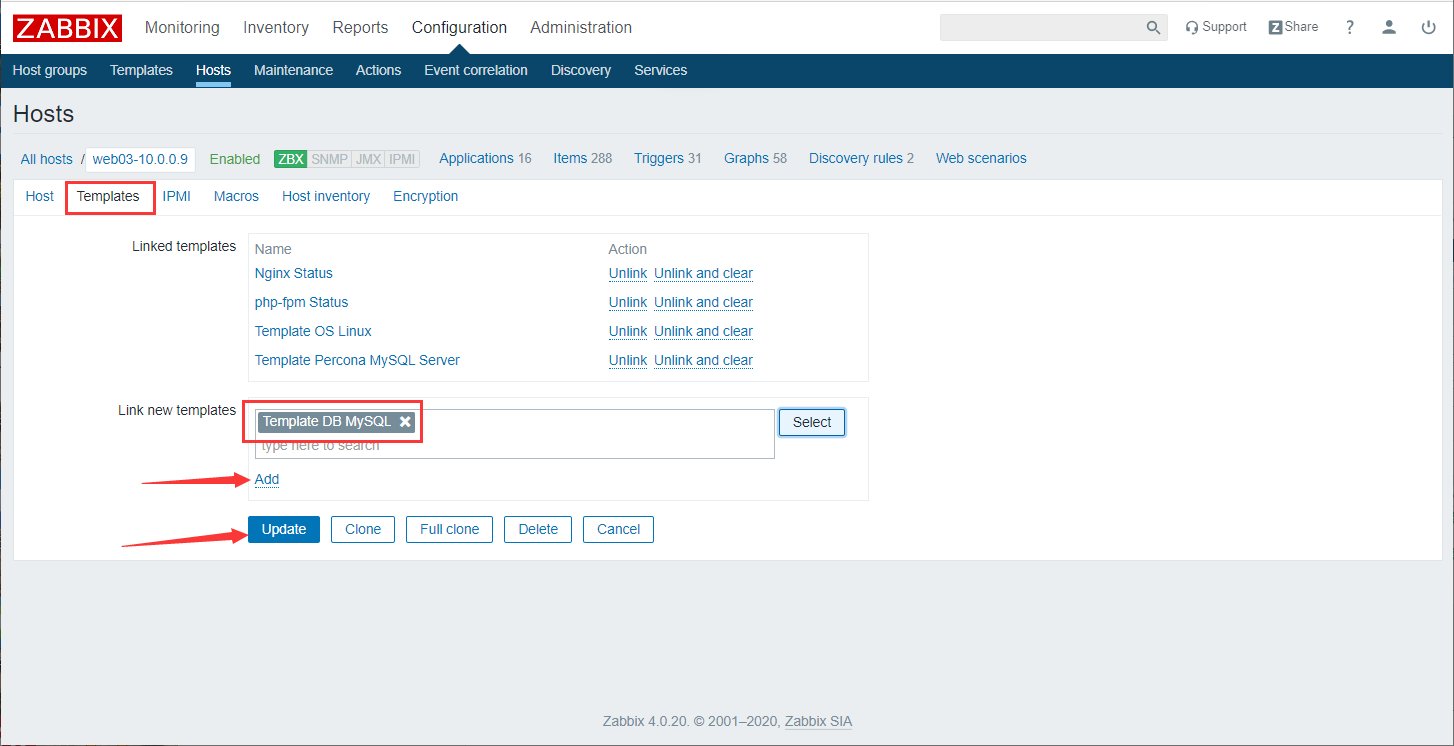
模板在/var/lib/zabbix/percona/templates/目录下,拷贝到PC桌面,然后浏览器导入
模板文件为zabbix_agent_template_percona_mysql_server_ht_2.0.9-sver1.1.8.xml

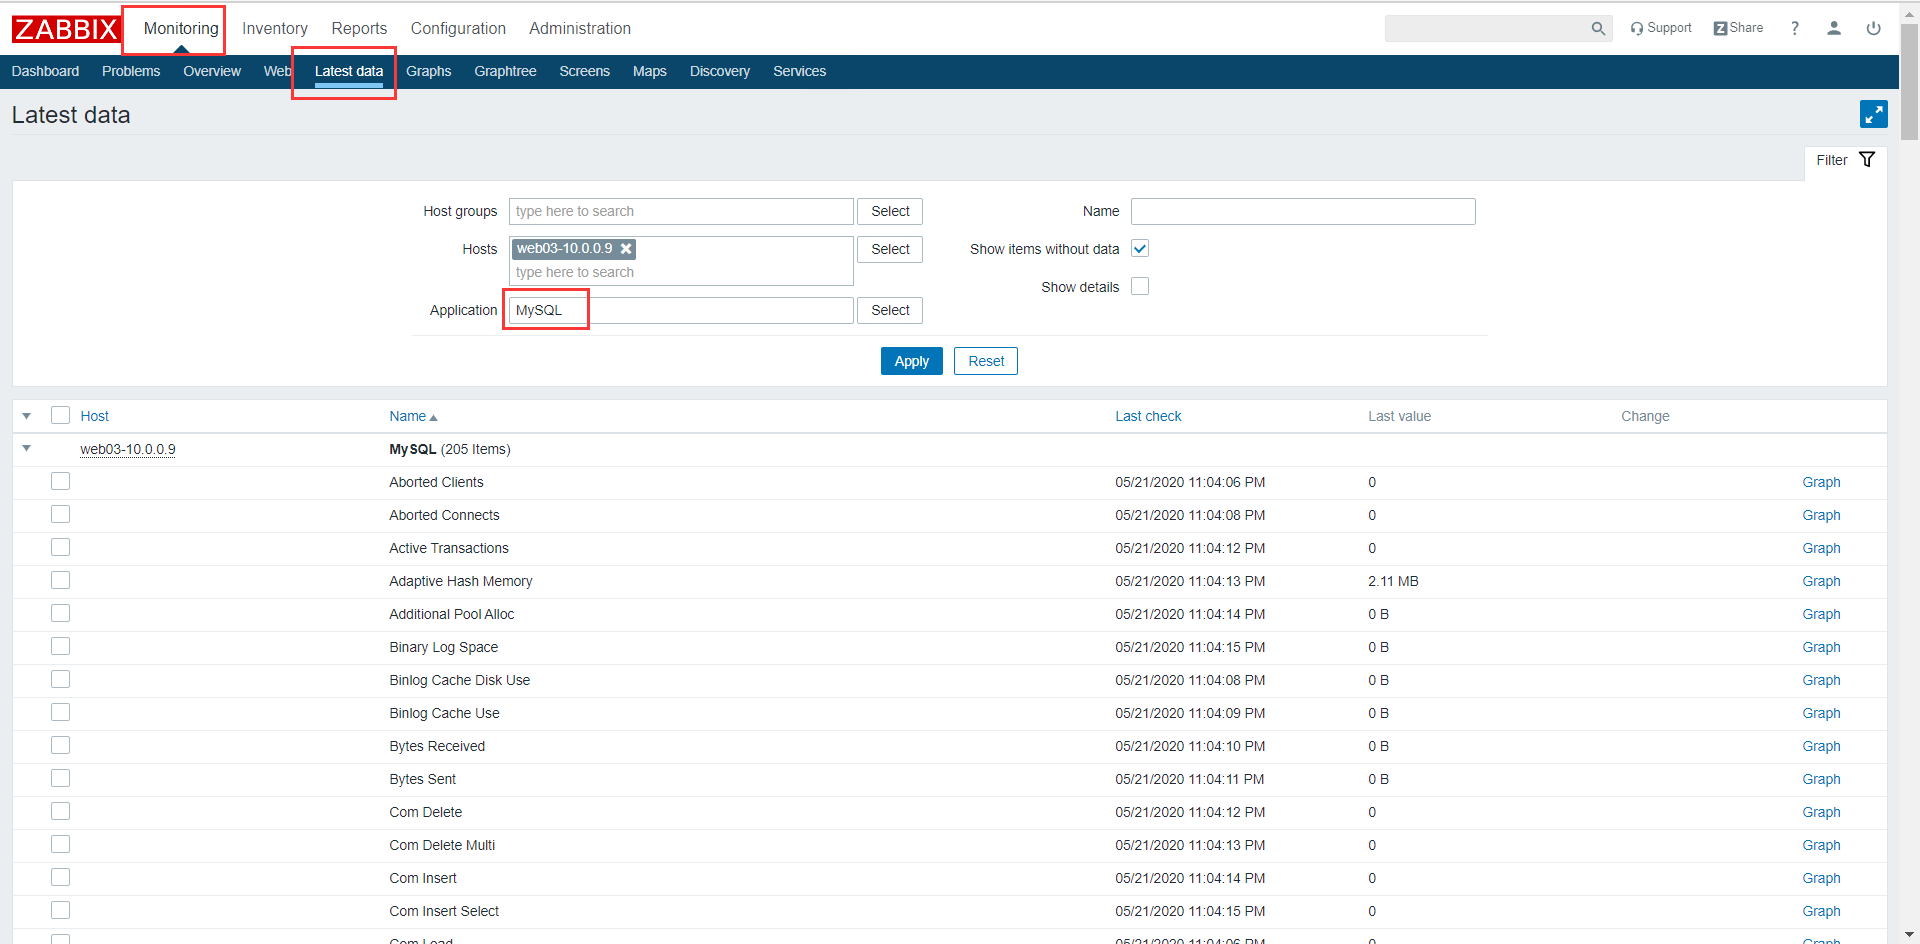
- 查看mysql状态


文档更新时间: 2020-12-28 19:02 作者:Wan Hebin
